FastAPI Tutorial: From Basic to Advanced
A comprehensive, hands-on tutorial for developers to learn FastAPI, covering everything from basic setup to advanced concepts like authentication, async, and testing.
Okay, here’s a comprehensive FastAPI tutorial, designed to take developers from the basics to more advanced concepts, with practical code examples, step-by-step instructions, and explanations.
FastAPI Tutorial: From Basic to Advanced
This tutorial provides a hands-on guide to building efficient and fast APIs using Python and FastAPI. Whether you’re new to web frameworks or looking to explore FastAPI’s advanced features, this tutorial will walk you through each step with practical examples and code.
Introduction to FastAPI
What is FastAPI?
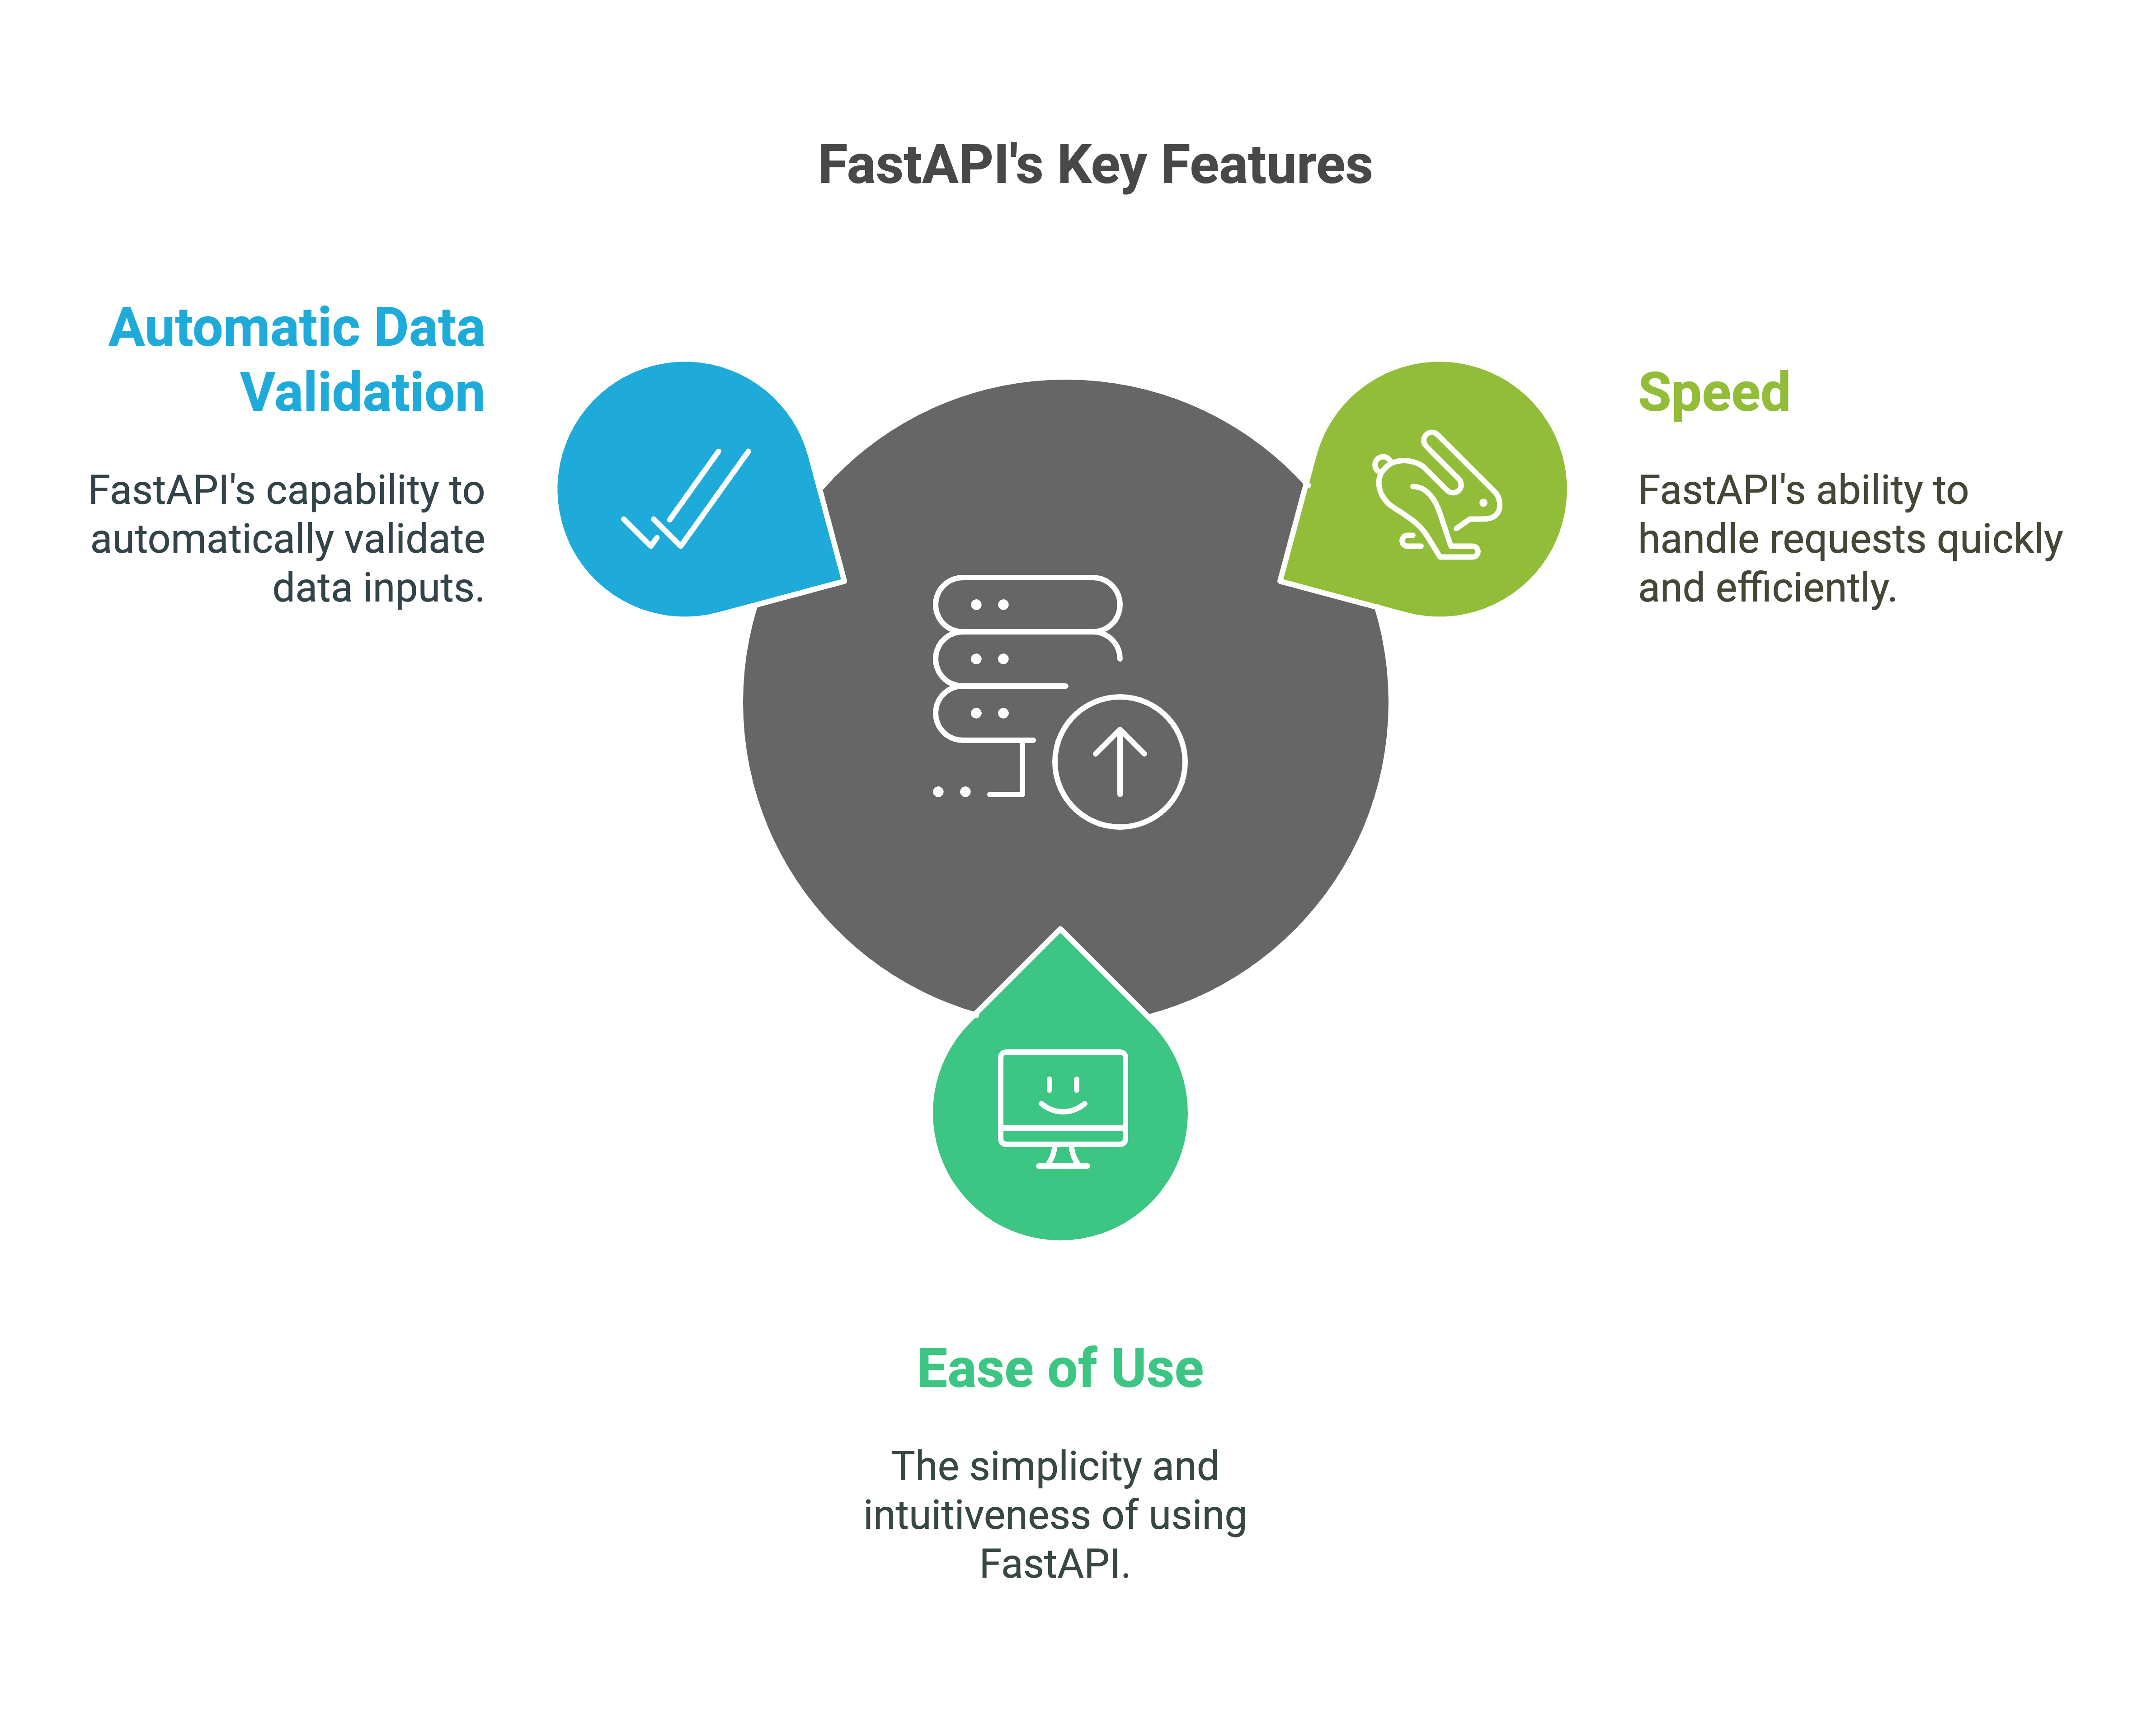
FastAPI is a modern, high-performance web framework for building APIs with Python 3.7+ based on standard Python type hints. It stands out due to its speed, ease of use, and automatic data validation.
Why Choose FastAPI?
FastAPI offers several advantages:
- Speed and Performance: Built on top of Starlette for high performance.
- Developer Friendliness: Easy to learn and use with intuitive syntax.
- Type Hints: Leveraging Python type hints for automatic data validation.
- Automatic Data Validation: Pydantic for automatic request body and response validation.
- Asynchronous Support: Native support for async/await for concurrent operations.
- Automatic OpenAPI: Generates interactive API documentation (Swagger UI and ReDoc) automatically.
- Code Quality: Encourages code maintainability and clean code with type hints and validation.
Key Features
- Type Hints: Built using modern Python type hinting
- Validation: Uses Pydantic to validate and serialize request bodies and responses
- Performance: Utilizes Starlette and ASGI for high performance
- Asynchronous Support: Enables asynchronous code execution with
asyncandawait - Automatic OpenAPI Generation: Provides automatic interactive documentation with Swagger UI and ReDoc.
Setting Up FastAPI
Installation
First, install FastAPI and Uvicorn (an ASGI server) using pip:
1
pip install fastapi uvicorn
Creating a Simple FastAPI Project
Create a new directory and a file named main.py. Paste the following code:
1
2
3
4
5
6
7
from fastapi import FastAPI

app = FastAPI()

@app.get("/")
async def hello_world():
    return {"message": "Hello World"}
Running the “Hello World” App
Run your app using Uvicorn:
1
uvicorn main:app --reload --host 0.0.0.0 --port 8000
main: The filename of your app (without the.pyextension).app: The FastAPI app instance withinmain.py.--reload: Enables automatic reloading upon code changes (for development).--host 0.0.0.0: Makes the app accessible from any IP.--port 8000: Specifies the port number.
Visit http://0.0.0.0:8000 in your browser to see the JSON response {"message": "Hello World"}.
You can also see the automatically generated API documentation by going to http://0.0.0.0:8000/docs or http://0.0.0.0:8000/redoc.
Creating Your First API with FastAPI
Creating a Simple Endpoint
Let’s create a simple endpoint that greets the user by name. Update your main.py:
1
2
3
4
5
6
7
8
9
10
11
from fastapi import FastAPI

app = FastAPI()

@app.get("/")
async def hello_world():
    return {"message": "Hello World"}

@app.get("/greet/{name}")
async def greet_user(name: str):
    return {"message": f"Hello, {name}!"}
HTTP Methods
- GET: Retrieve data. Use
@app.get()to define GET routes. - POST: Create new data. Use
@app.post()for POST routes. - PUT: Update existing data. Use
@app.put()for PUT routes. - DELETE: Delete data. Use
@app.delete()for DELETE routes.
Accepting Parameters
FastAPI allows you to accept parameters in different ways:
- Path Parameters: Parts of the URL (e.g.,
/{item_id}). - Query Parameters: Parameters in the query string (e.g.,
?param1=value1). - Request Body: Data sent in the body of the request (typically JSON for POST and PUT requests).
Returning JSON Responses
FastAPI automatically returns JSON responses. You can return Python dictionaries or Pydantic models.
Example:
Visit http://0.0.0.0:8000/greet/John in your browser to see the JSON response {"message": "Hello, John!"}.
Path Parameters, Query Parameters, and Request Bodies
Path Parameters
Path parameters are defined in the URL pattern using curly braces:
1
2
3
@app.get("/items/{item_id}")
async def read_item(item_id: int):
    return {"item_id": item_id}
item_id is extracted from the URL path and must be an integer.
Query Parameters
Query parameters are defined in the function parameters:
1
2
3
4
5
6
@app.get("/search")
async def search_items(query: str = None, limit: int = 10):
  if query:
        return {"query": query, "limit": limit}
  else:
        return {"message":"Please provide a search query", "limit": limit}
query is optional, and limit has a default value of 10.
Visit http://0.0.0.0:8000/search?query=example to see how it is working.
Request Bodies
Use Pydantic models to define, validate, and parse request bodies:
1
2
3
4
5
6
7
8
9
10
11
12
13
from fastapi import FastAPI
from pydantic import BaseModel

app = FastAPI()

class User(BaseModel):
    name: str
    email: str
    age: int

@app.post("/users")
async def create_user(user: User):
    return {"message": f"User created: {user.name}"}
Now, in your main.py file send the following data in the request body:
1
2
3
4
5
{
 "name": "john doe",
 "email": "[email protected]",
 "age": 20
}
The output will be {"message": "User created: john doe"}.
Pydantic Models
Pydantic provides a data validation system based on Python type hints. It ensures that the data conforms to a particular data structure before it can be used. Pydantic helps in performing data validation, serialization, and deserialization. It helps make API development safe and efficient by checking if data coming in and going out from the application conforms to a certain data structure.
CRUD Operations
Implementing CRUD
Here’s an example of how to implement basic CRUD operations with a simple in-memory list:
1
2
3
4
5
6
7
8
9
10
11
12
13
14
15
16
17
18
19
20
21
22
23
24
25
26
27
28
29
30
31
32
33
34
35
36
37
38
39
40
41
42
43
44
45
46
47
48
49
50
51
52
53
54
55
from fastapi import FastAPI, HTTPException
from typing import List
from pydantic import BaseModel

app = FastAPI()


class Item(BaseModel):
    id: int
    name: str


items: List[Item] = []

@app.get("/items", response_model=List[Item])
async def get_items():
    return items

@app.post("/items", response_model=Item, status_code=201)
async def create_item(item: Item):
   if any(x.id == item.id for x in items):
       raise HTTPException(status_code=400, detail="Item with the same id exists")
   items.append(item)
   return item


@app.get("/items/{item_id}", response_model=Item)
async def get_item(item_id: int):
   try:
       item = next(item for item in items if item.id == item_id)
       return item
   except StopIteration:
       raise HTTPException(status_code=404, detail="Item not found")


@app.put("/items/{item_id}", response_model=Item)
async def update_item(item_id: int, updated_item: Item):
  try:
    item = next(item for item in items if item.id == item_id)
    item.name = updated_item.name
    return item
  except StopIteration:
    raise HTTPException(status_code=404, detail="Item not found")


@app.delete("/items/{item_id}", response_model=dict)
async def delete_item(item_id: int):
  try:
     item = next(item for item in items if item.id == item_id)
     items.remove(item)
     return {"message": "Item deleted"}
  except StopIteration:
      raise HTTPException(status_code=404, detail="Item not found")
Database Integration
For simplicity, we’re using an in-memory list. For a real application, consider using databases like SQLite (for development) or PostgreSQL. FastAPI works well with async database clients like asyncpg or databases.
Authentication with JWT Tokens
Implementing JWT Authentication
JSON Web Tokens (JWT) are a standard method to authenticate users in stateless APIs.
Here’s a basic example using python-jose for JWT encoding and decoding:
First install python-jose using pip install python-jose
1
2
3
4
5
6
7
8
9
10
11
12
13
14
15
16
17
18
19
20
21
22
23
24
25
26
27
28
29
30
31
32
33
34
35
36
37
38
39
40
41
42
43
44
45
46
47
48
49
50
51
52
53
54
55
56
57
58
59
60
61
62
63
64
65
66
67
from fastapi import FastAPI, HTTPException, Depends
from fastapi.security import OAuth2PasswordBearer, OAuth2PasswordRequestForm
from typing import Optional
from datetime import datetime, timedelta
from jose import jwt, JWTError
from pydantic import BaseModel

SECRET_KEY = "your-secret-key"
ALGORITHM = "HS256"
ACCESS_TOKEN_EXPIRE_MINUTES = 30


app = FastAPI()

oauth2_scheme = OAuth2PasswordBearer(tokenUrl="/login")

class User(BaseModel):
    username: str
    password: str

class Token(BaseModel):
    access_token: str
    token_type: str = "bearer"

class TokenData(BaseModel):
    username: Optional[str] = None


def create_access_token(data: dict, expires_delta: Optional[timedelta] = None):
    to_encode = data.copy()
    if expires_delta:
        expire = datetime.utcnow() + expires_delta
    else:
        expire = datetime.utcnow() + timedelta(minutes=ACCESS_TOKEN_EXPIRE_MINUTES)
    to_encode.update({"exp": expire})
    encoded_jwt = jwt.encode(to_encode, SECRET_KEY, algorithm=ALGORITHM)
    return encoded_jwt

async def get_current_user(token: str = Depends(oauth2_scheme)):
    credentials_exception = HTTPException(
        status_code=401,
        detail="Could not validate credentials",
        headers={"WWW-Authenticate": "Bearer"},
    )
    try:
        payload = jwt.decode(token, SECRET_KEY, algorithms=[ALGORITHM])
        username: str = payload.get("username")
        if username is None:
            raise credentials_exception
        token_data = TokenData(username=username)
    except JWTError:
        raise credentials_exception
    return token_data


@app.post("/login", response_model=Token)
async def login_for_access_token(form_data: OAuth2PasswordRequestForm = Depends()):
    # Simulate user authentication (replace with real auth)
    if form_data.username != "user1" or form_data.password != "password":
        raise HTTPException(status_code=401, detail="Incorrect credentials")
    access_token = create_access_token(data={"username": form_data.username})
    return Token(access_token=access_token)

@app.get("/protected", dependencies=[Depends(oauth2_scheme)])
async def protected(current_user: TokenData = Depends(get_current_user)):
    return {"message": f"Hello {current_user.username}, this is protected!"}
/loginEndpoint: Accepts a username and password and returns a JWT token if authentication is successful./protectedEndpoint: Requires a valid JWT token for access.create_access_tokentakes a user and returns a JWT token with expiryget_current_usertake the token as input and returns the user.
Steps:
- To get a JWT token go to
/loginendpoint and send a post request using the following username and passwordjson { "username": "user1", "password": "password" } - This will return you a
access_token, use this access token to test/protectedroute. - You have to send this token inside the
Authorizationheader using formatBearer <access_token>
Asynchronous Programming in FastAPI
Asynchronous Operations
FastAPI is designed to work with asynchronous code, making it ideal for handling I/O-bound operations like database queries or API calls. Use async and await keywords to define asynchronous functions.
Example:
1
2
3
4
5
6
7
8
9
10
11
12
13
import asyncio
from fastapi import FastAPI

app = FastAPI()

async def external_api_call():
    await asyncio.sleep(1)
    return {"data": "External API data"}

@app.get("/async_data")
async def get_async_data():
    data = await external_api_call()
    return data
This simple example shows how to run some code in the background and return data asynchronously. You will find that the code will not block while you wait for it to finish, increasing the overall performance.
Testing FastAPI Endpoints
Using pytest and TestClient
FastAPI comes with a built-in TestClient that makes it easy to write unit tests. Here’s how you can use pytest:
First install pytest using pip install pytest Here is a file named test_main.py
1
2
3
4
5
6
7
8
9
10
11
12
13
14
from fastapi.testclient import TestClient
from main import app

client = TestClient(app)

def test_hello_world():
    response = client.get("/")
    assert response.status_code == 200
    assert response.json() == {"message": "Hello World"}

def test_greet_user():
    response = client.get("/greet/testuser")
    assert response.status_code == 200
    assert response.json() == {"message": "Hello, testuser!"}
Run this test using command pytest in the terminal.
Deploying FastAPI
Deploying with Docker and Uvicorn
- Dockerfile: Create a
Dockerfilein your project to dockerize the app:
1
2
3
4
5
6
FROM python:3.11-slim
WORKDIR /app
COPY requirements.txt .
RUN pip install --no-cache-dir -r requirements.txt
COPY . .
CMD ["uvicorn", "main:app", "--host", "0.0.0.0", "--port", "8000"]
- Build and Run: Build the Docker image and run it:
1
2
docker build -t my-fastapi-app .
docker run -d -p 8000:8000 my-fastapi-app
- Cloud Platforms: Consider deploying on cloud platforms like:
- Heroku
- AWS Lambda
- DigitalOcean
- Google App Engine
Deployment Notes:
- Ensure you use a production-ready server such as Gunicorn with Uvicorn workers.
- Configure HTTPS for secure communication.
Advanced Topics (Optional)
Background Tasks
Use background tasks for time-consuming operations that do not directly affect responses. This increases the response time as long-running task does not block the main response. Example:
1
2
3
4
5
6
7
8
9
10
11
12
from fastapi import FastAPI, BackgroundTasks

app = FastAPI()

def write_log(message: str):
    with open("log.txt", "a") as f:
        f.write(f"{message}\n")

@app.post("/log_message")
async def log_message(message: str, background_tasks: BackgroundTasks):
    background_tasks.add_task(write_log, message=message)
    return {"message":"Log Message created"}
Dependency Injection
Use FastAPI’s dependency injection system for modular and maintainable code. Example:
1
2
3
4
5
6
7
8
9
10
from fastapi import FastAPI, Depends

app = FastAPI()

def get_db_session():
    return "In memory database session"

@app.get("/items", dependencies=[Depends(get_db_session)])
async def get_items(db = Depends(get_db_session)):
    return {"message": f"using {db}"}
WebSockets
FastAPI also supports WebSocket connections for real-time communication.
File Uploads
FastAPI makes handling file uploads easy. Here’s an example:
1
2
3
4
5
6
7
8
9
10
from fastapi import FastAPI, UploadFile, File

app = FastAPI()

@app.post("/files/")
async def create_file(file: UploadFile = File(...)):
    contents = await file.read()
    with open(f"uploads/{file.filename}", "wb") as f:
        f.write(contents)
    return {"message": f"Uploaded: {file.filename}"}
Rate Limiting and Caching
Implement rate limiting and caching to optimize API performance:
- For Rate Limiting, consider using libraries like
slowapi - For caching, consider using libraries like
fastapi-cache
Conclusion
This comprehensive FastAPI tutorial has covered the key concepts from basics to advanced. You now have all the information necessary to start building your own efficient and fast APIs using Python and FastAPI. Remember to practice and experiment to fully grasp these concepts.
This tutorial provides a strong foundation for learning and using FastAPI. Each section gives the developers all the steps necessary to use the framework. It can be improved by adding more details, as needed.